Custom Embroidery


Upcoming Events
 Catch team Corbin on the road at a motorcycle event near you! Click HERE for details.
 Catch team Corbin on the road at a motorcycle event near you! Click HERE for details.
A Free Seat?


Front Saddle Installation
Scroll down for rear saddle installation
Scroll down for rear saddle installation
 |
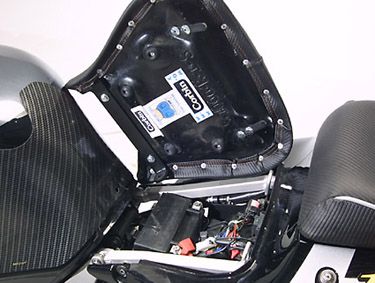
Your Corbin front saddle comes with brackets preinstalled on the seat as shown here. Mounting the seat is just like stock... The seat slides in rear first with the two small tongues hooking into the seat mounts on your frame. The front of the seat is then lowered into position. |
 |
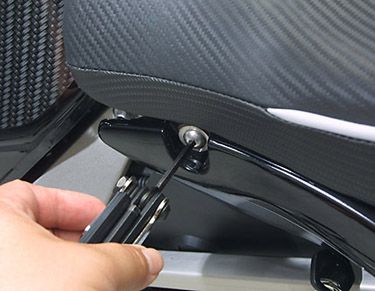
With the nose of the saddle in position, reinstall the stock seat mount bolts as shown through the Corbin seat bracket. That was simple wasn't it! |
| Rear Saddle Installation | |

|
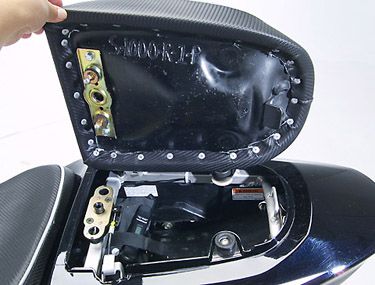
For the rear seat, you will transer the front bracket from your OEM seat or seat cowling as shown. Using the Suzuki bracket will allow your Corbin saddle to install just like your stock unit and will fit perfectly. Transfering this bracket is very simple and involves only two bolts. |

|
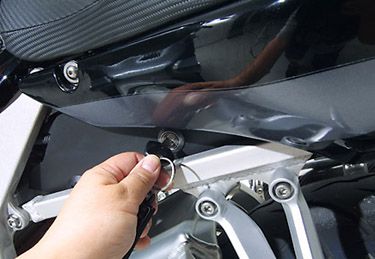
With the front bracket installed, simply slide the rear saddle into place with the tongue on the Corbin saddle hooking UNDER the subframe bar (below the hoop used by the stock seat). Lower the front of the saddle down to latch on your key lock. You may need to apply a little pressure to the seat to get the lock to engage... this gets easier as the rubber bumpers break in. |
