Installation & Trouble Shooting
Congratulations on your new Corbin saddle! Our goal here is to get you going in the right direction with all the knowledge you need to make installation as smooth as possible. Here’s some tips and info that may help:
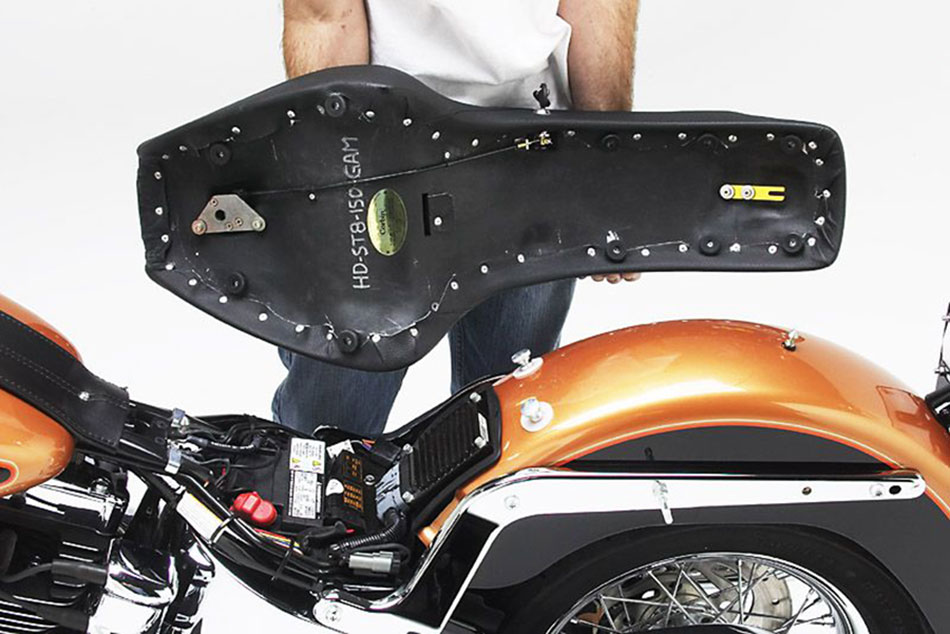
FIBERTECH BASEPAN: We design our seats with a much tighter tolerance and closer fit to the body than the stock seat. This makes the saddle look nicer when installed. However, because the pan comes so much closer to the bodywork and is not flexible like the stock nylon pan, it may be a little tricky the first couple times you install it. You may need to be a little patient.
It is not unusual for the Corbin saddle to be designed slightly different than stock. Don’t be alarmed if your saddle mounts different or uses different mounting points to secure it to the bike. Be sure to review the instruction sheets if your seat came with them as they will outline any known issues or changes versus your stock style installation. Also, the first couple of installations can be a bit sticky, but when the rubber bumpers break in, it’ll be a snap.
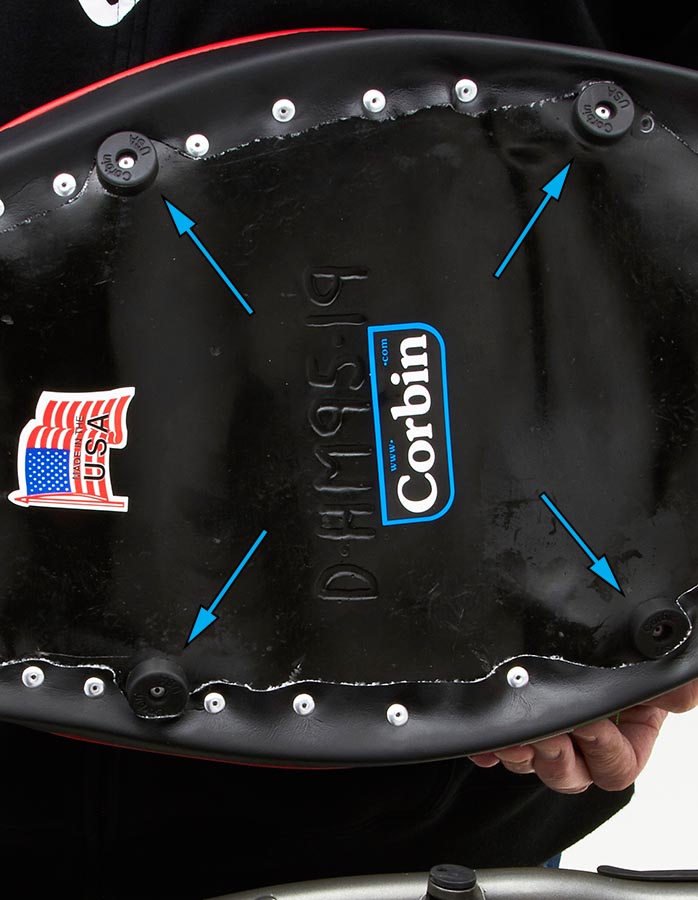
RUBBER BUMPERS: The rubber bumpers that the saddle will sit on are designed a bit oversized so that after use your saddle won’t be loose on the bike. Because of this, it is sometimes necessary to use a bit of lubricant on them to make them slide easier on the frame. You should NEVER remove them or move them to another position! They are designed to support the saddle in locations that will not hurt the bike or the seat.
Many seat models use a form of tongue in the front or rear. If the seat doesn’t slide far enough forward (or rearward as the case may be), it will not line up or latch properly. This is where you would want to apply a little lubricant to the rubber bumpers to allow them to slide easier while engaging the tongue FULLY. A spray lubricant like WD-40 works great for this.
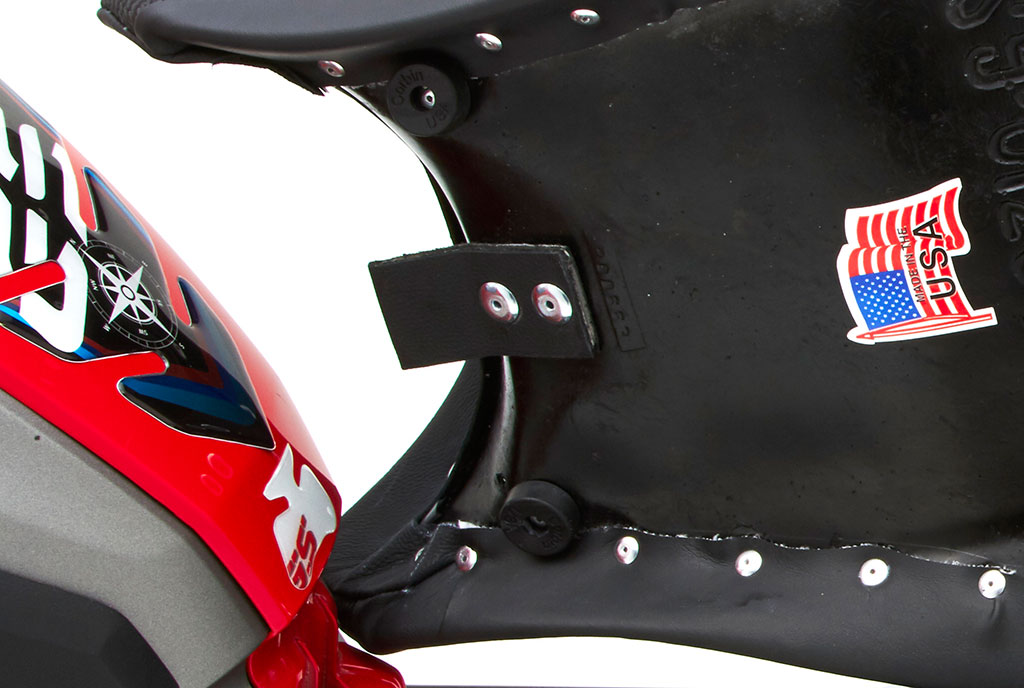
MOUNTING TONGUE: If your saddle has a metal tongue either front or rear, it will be covered in leather so it doesn’t rattle against the bracket it secures to. This will make it harder to slide into position until it breaks in a little. Sometimes it may be necessary to give the saddle a good forward (or rearward) “smack” with your hand to get the tongue to slide fully into the bracket.
It is also possible that due to manufacturing tolerances from bike to bike, a slight bending of the tongue will make it fit your individual bike better. The tongue is made of a mild steel that will bend easily enough with an adjustable wrench clamped on it. Very little bend is needed in most cases, so be careful not to overdo it!
SADDLE POSITION: As we mentioned above, you may think the saddle is slid all the way into place because it stops, but because of the new bumpers it may actually need to slide further. Remember, our basepan doesn’t have the flex of the stock model (for good reason by the way), so it makes getting things in position just a little more difficult. You may have to bump the seat forward with a smack of your hand or actually wiggle it as you slide it into position. The other mounting tabs or latch brackets will not line up if the seat isn’t in the right position!
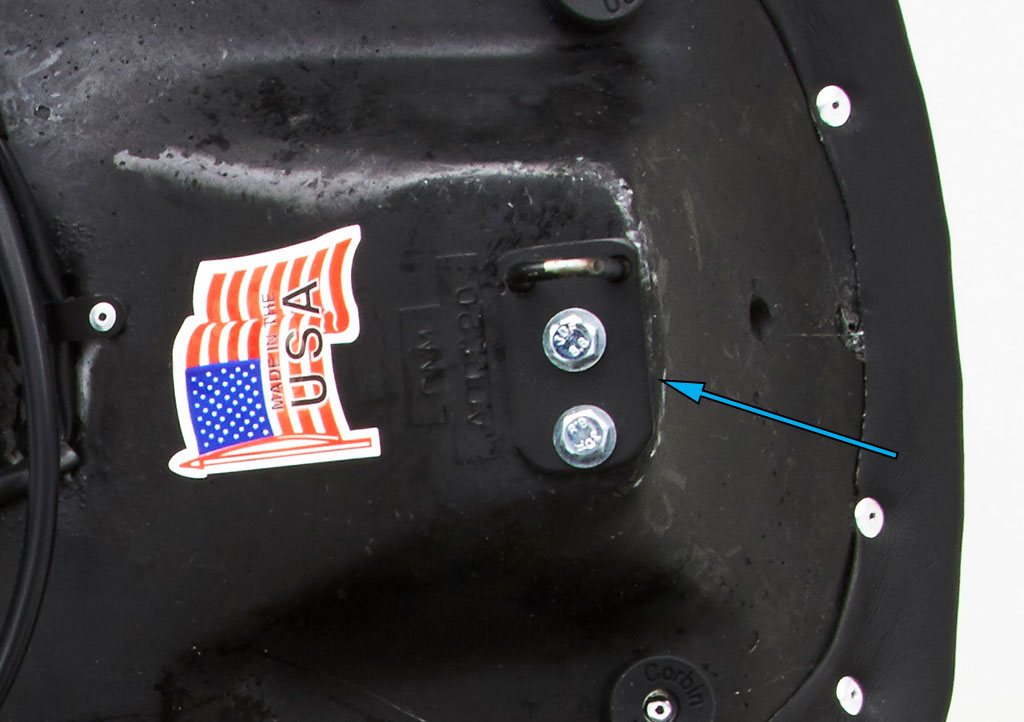
LATCH BRACKET: There are many latch methods used in the multitude of saddle designs for the various motorcycle makes and models. Likewise, every motorcycle is just a little bit different (manufacturing tolerances). This is just a general overview of some tips regarding latches in general:
If your saddle is not latching down, be sure to check the alignment of the striker over the latch catch. If they are not lined up correctly, they will not latch! Perhaps your saddle just needs to move a little bit forward or backward to align it. Most of our bolt on brackets have some tolerances built into them also so you can make minor position adjustments as needed. Just a little bit can make a big difference! Please be patient, you’ll only need to do this once.
Often, the saddle will not latch because of the new rubber bumpers. As outlined above, the bumpers have not broken in yet so they will hold the saddle up a little and not allow the seat latch to engage. Usually a good smack with your hand directly over the latch will engage the lock if everything is aligned properly. If this fails, you can add a flat washer or two as a shim between the latch and seat pan to allow the latch to reach a little deeper. As the rubber bumpers break in, you can remove the washers.
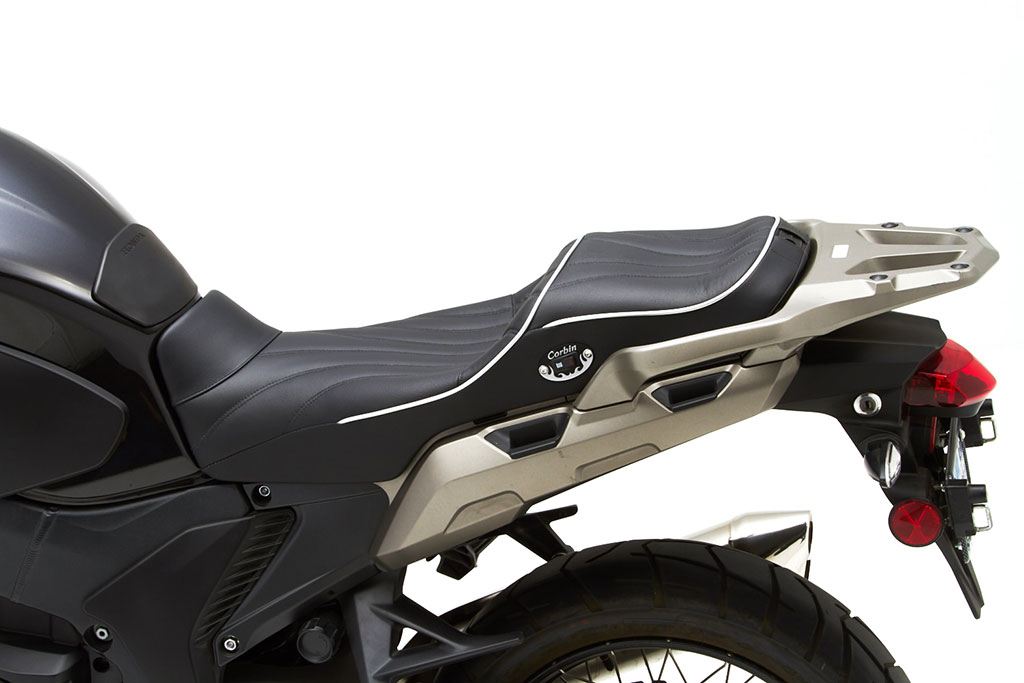
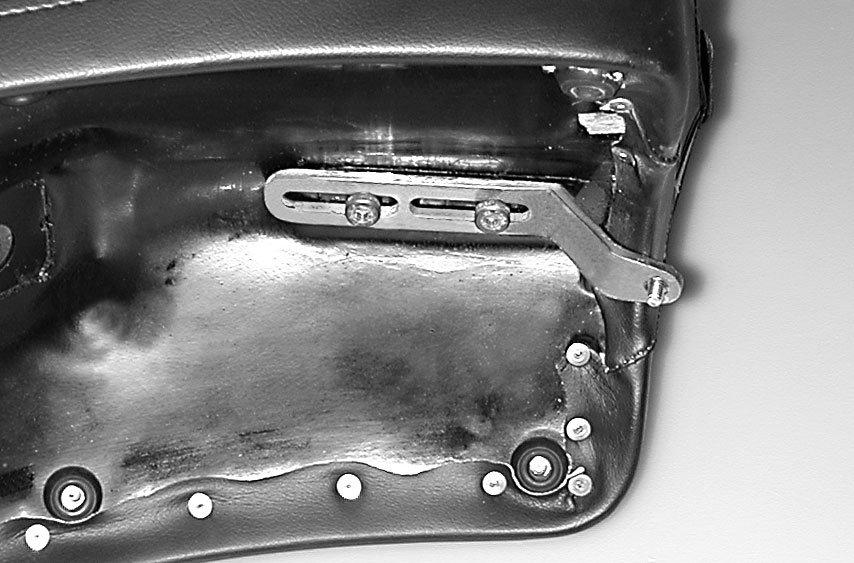
REAR TABS: In the case of saddles like our Gunfighter model mounted on a typical cruiser, you will secure the seat with a tongue in the front and a chrome tab in the rear. If the seat is positioned properly, the slotted hole in the tab will easily line up with the mounting point in your fender (some of these seat models have an adjustable tab). If the hole does not line up, then you should refer to the tips above about rubber bumpers, mounting tongues and saddle position.
If the rear tab almost lines up, but the rear of the seat sits up off the fender, do NOT bend the tab down to secure the seat. This can result in scratches to your bike as the rear edge of the tab may contact your paint. This is indicative of a problem elsewhere. Perhaps the seat is not slid far enough forward? Perhaps the mounting tongue is secured in the wrong place? Double check positioning!
KEY LOCK SADDLES: If the key release seems hard to turn when removing the seat, push down on the saddle directly over the position of the key latch. This will relieve tension on the latch while you turn the key. Don’t force the key or you may risk breaking it! Sure, we can get you a new key, but it’ll be a major headache in the mean time won’t it?!
Another issue that can happen with the key lock saddles is the seat may push forward or rearward slightly and hang up on the latch pin when you try to remove it (the latch pin is beveled to minimize this occurance, but sometimes it still happens). This will give the impression that your saddle is stuck… don’t panic! Simply wiggle the seat around while turning the key to correct the pin being off centered in the lock. Since most people only have two hands, it may be helpful to have someone help you.
When mounting a key lock saddle, you may experience issues similar to the “latch bracket” problems outlined above. If so, the same theory applies only this time you would add a washer between the stainless steel latch pin and mounting bracket (or fender if applicable). A single washer or two will be enough to do the trick, but we have tested this to be safe and secure with up to four washers… You won’t need that many!
If you are still having problems installing your saddle, just contact our tech support team using this page: Tech Support